 Save to Pinterest
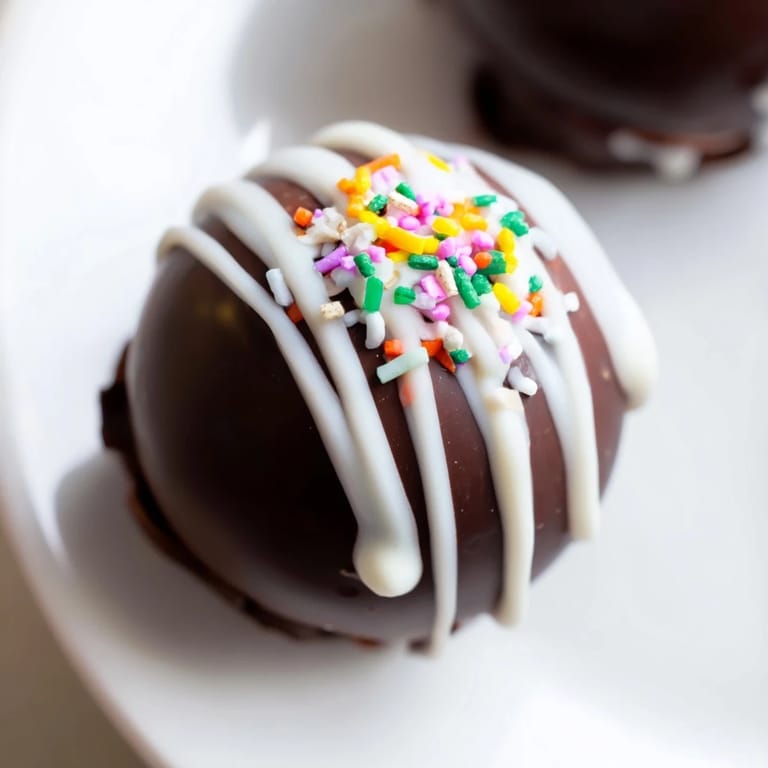
 The first time I saw hot chocolate bombs explode in slow motion on social media, I laughed at how extra it seemed. Then my seven-year-old niece begged me to make them for her winter birthday party, and suddenly I was researching tempering chocolate at 11pm. Watching that first sphere melt into swirling perfection in her mug, I finally understood the hype. These little chocolate spheres have become my go-to gift for anyone who needs a moment of pure comfort.
Last December I made three dozen bombs for a cookie exchange package, carefully packing each one in clear boxes with ribbon. My friend texted me later that night saying her whole family stood around the kitchen island watching theirs melt like it was a science experiment. Something about breaking open that chocolate shell and seeing the marshmallows emerge turns an ordinary Tuesday night into an event.
Ingredients
- High-quality chocolate: I have learned the hard way that cheap chocolate seizes and refuses to temper properly, spring for the good stuff here since it is the star of the show
- Unsweetened cocoa powder: Use Dutch processed for a smoother, less acidic chocolate flavor that really shines through the milk
- Powdered sugar: This dissolves instantly into hot milk without creating grainy texture like granulated sugar would
- Mini marshmallows: Regular sized marshmallows take too long to melt and can create frustrating marshmallow clumps
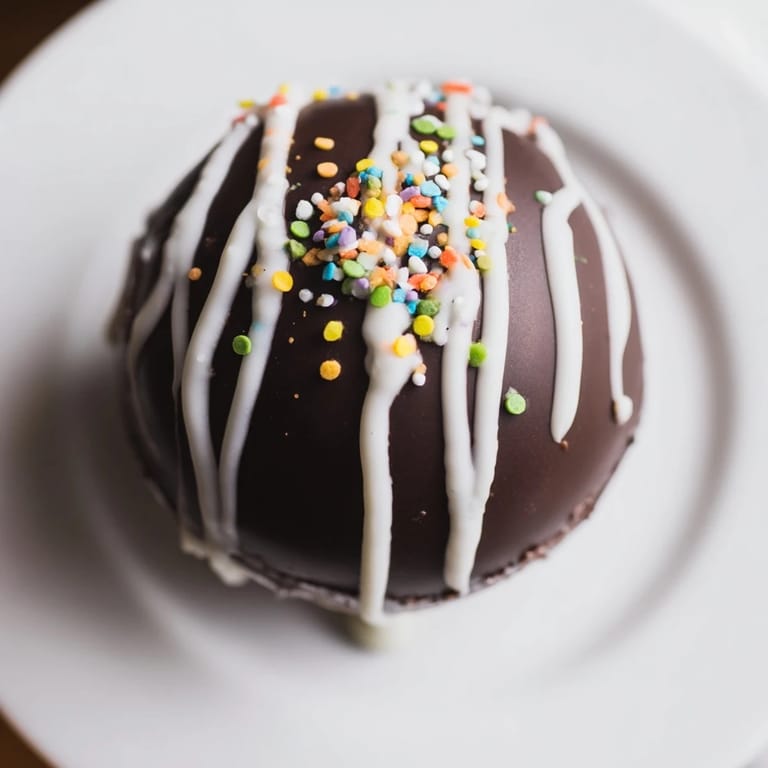
- White chocolate for drizzling: Totally optional but that contrasting swirl makes these look like they came from a fancy chocolate shop
Tired of Takeout? 🥡
Get 10 meals you can make faster than delivery arrives. Seriously.
One email. No spam. Unsubscribe anytime.
Instructions
- Melt the chocolate base:
- Melt your chocolate in 30 second bursts in the microwave, stirring between each one until glossy and smooth. The double boiler method gives you more control but microwaving works perfectly if you are patient and do not rush it.
- Coat the sphere molds:
- Use a pastry brush to paint an even layer of chocolate into each silicone sphere cavity, working quickly before the chocolate starts to set. Make sure you can not see through any spots when you hold the mold up to light.
- Reinforce the shells:
- Chill for 10 minutes then add a second layer of chocolate to each shell. This double coating is non negotiable, single layer shells will crack when you try to seal them later.
- Fill the chocolate halves:
- Gently pop the set shells out of the molds and fill just half of them with cocoa powder, powdered sugar, and marshmallows. Do not overstuff or you will never get the two halves to meet properly.
- Seal the bombs:
- Warm a plate in the microwave for 20 seconds, then press the rim of an empty shell briefly onto the hot surface and immediately join it to a filled half. Smooth the seam with your warm finger while the chocolate is still melty.
- Add finishing touches:
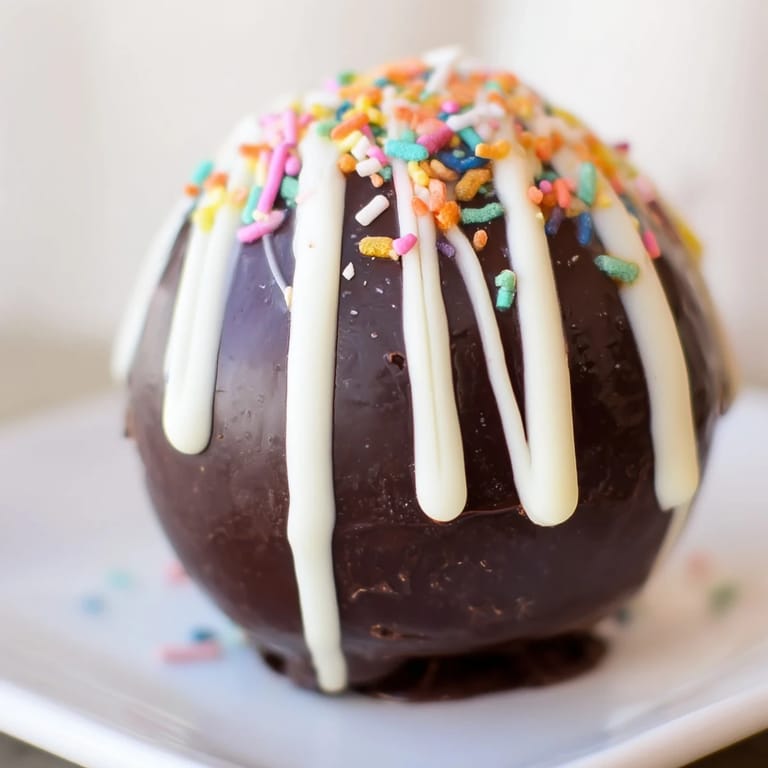
- Drizzle melted white chocolate over the completed bombs and immediately add sprinkles before the chocolate sets. Work quickly because sprinkles will not stick once the chocolate cools.
- Create the magic moment:
- Place one bomb in a mug and pour very hot milk over it slowly. Stir gently and watch as the chocolate shell gives way to reveal the marshmallow treasure hiding inside.
 Save to Pinterest
 My dad still talks about the peppermint version I made him last Christmas, asking in October if I am planning to make them again this year. There is something about watching that sphere dissolve that makes people feel like kids again, huddled around mugs with rosy cheeks and chocolate mustaches.
Choosing Your Chocolate
After dozens of batches I have found that coating chocolate wafers melt more smoothly than regular baking bars, which can sometimes streak or bloom. The couverture style chips have a higher cocoa butter content that creates that professional glossy finish we are all chasing. Do not stress too much about brand, just avoid anything with added oils or weird fillers.
Temperature Secrets
Your chocolate shells will release from the molds much more cleanly if you pop the filled mold into the freezer for exactly 5 minutes before trying to unmold. Any longer and they can crack from the cold, any shorter and they might stick and tear when you try to remove them. Room temperature bombs are much easier to seal than cold ones.
Storing Your Creations
I keep finished bombs in an airtight container between layers of parchment paper in a cool spot away from direct sunlight. Chocolate absorbs odors like nobody is business, so do not store them near your onion basket or coffee grounds.
- Package individual bombs in cellophane bags with ribbons for instant teacher gifts
- Stack them carefully in a tin with wax paper between layers
- These actually freeze beautifully for up to three months if you need to make ahead
 Save to Pinterest
 There is nothing quite like watching someone experience their first hot chocolate bomb, that moment of pure wonder when the chocolate shell gives way. These little spheres of happiness have a way of making ordinary winter nights feel just a bit more magical.
Common Questions
- → How do I make the chocolate shells thicker?
Apply two to three layers of melted chocolate to your silicone molds, chilling for 10 minutes between each coat. This creates sturdy shells that won't crack when filled or handled.
- → Can I use different types of chocolate?
Yes! You can use dark, milk, or white chocolate for the shells. Dark chocolate provides the richest flavor and holds up best at room temperature. Milk chocolate creates a sweeter, creamier result.
- → What's the best way to seal the chocolate spheres?
Warm a plate in the microwave for 30 seconds, then gently press the rim of an empty shell half onto the hot surface. The slight melting helps create a perfect seal when pressed against a filled half.
- → How long do hot chocolate bombs stay fresh?
Stored in an airtight container at cool room temperature, these bombs remain fresh for up to two weeks. Avoid refrigerating as condensation can cause sugar bloom and affect the chocolate's texture.
- → What milk temperature works best for melting the bombs?
Use very hot milk, just below boiling point (around 180°F/82°C). Pour slowly over the bomb in your mug and stir continuously until the chocolate completely dissolves and the marshmallows float to the top.
- → Can I make these without silicone molds?
Silicone sphere molds work best, but you can use plastic Easter egg molds or create freeform shapes by dipping balloons in melted chocolate. Silicone molds provide the most consistent results and easiest release.