 Save to Pinterest
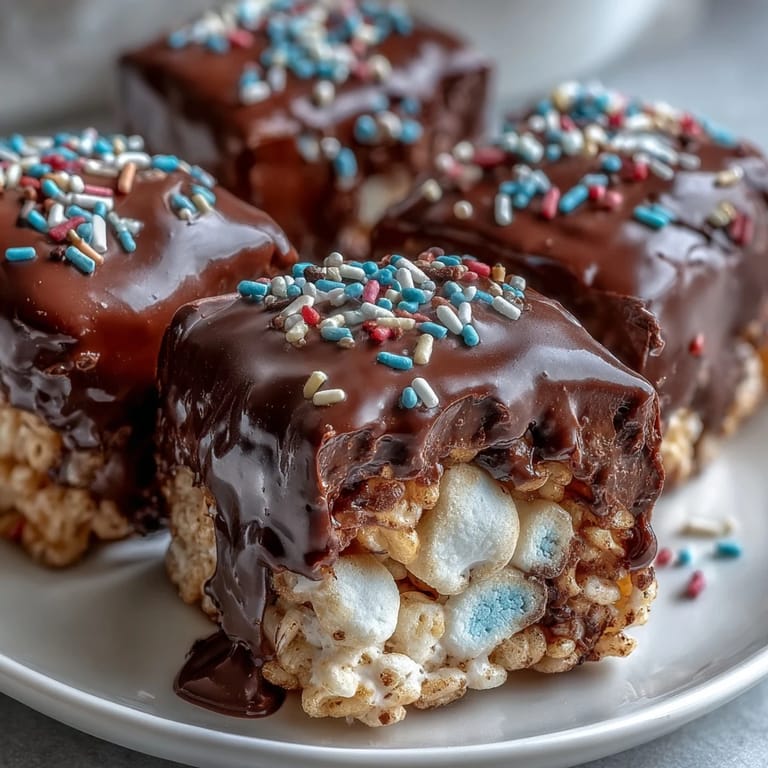
 My nephew grabbed one from the counter before I could even finish sprinkling the last handful of rainbow dots on top. His eyes went wide when the chocolate cracked under his teeth, giving way to that sticky-sweet marshmallow layer and the signature snap of puffed rice. I knew right then these weren't going to last the afternoon. There's something irresistible about taking a childhood classic and giving it a grown-up chocolate coat—it feels both nostalgic and new at the same time.
I brought a tray of these to a neighborhood block party last summer, stacked in a glass dish with parchment between the layers. Within twenty minutes, the dish was empty and three people asked for the recipe. One neighbor admitted she'd eaten four bars standing by the dessert table, and I didn't blame her one bit. There's a certain magic that happens when you coat something familiar in chocolate—it becomes a treat people remember long after the party ends.
Ingredients
- Unsalted butter: Use unsalted so you control the salt level, and keep a little extra on hand for greasing the pan and your spatula when pressing down the sticky mixture.
- Mini marshmallows: The minis melt faster and more evenly than large ones, creating a smoother binding that coats every piece of cereal without clumps.
- Rice Krispies cereal: The classic choice for that signature snap, but make sure it's fresh—stale cereal loses its crunch and the whole texture suffers.
- Fine sea salt: Just a pinch balances the sweetness and makes the chocolate topping taste richer and more complex.
- Semisweet or dark chocolate chips: I prefer semisweet for a balanced sweetness, but dark chocolate works beautifully if you want a more sophisticated, less sugary finish.
- Vegetable oil or coconut oil: A teaspoon keeps the melted chocolate silky and spreadable, preventing it from seizing or turning grainy as it cools.
- Rainbow sprinkles or chopped nuts: Completely optional, but they add a playful pop of color or a welcome crunch that makes each bar feel a little more festive.
Tired of Takeout? 🥡
Get 10 meals you can make faster than delivery arrives. Seriously.
One email. No spam. Unsubscribe anytime.
Instructions
- Prep the pan:
- Grease your 8x8-inch or 9x9-inch square baking pan generously with butter, making sure to get into the corners. If you want easy cleanup, line it with parchment paper and grease that too.
- Melt the butter:
- Set a large saucepan over low heat and add the butter, stirring constantly so it melts without browning or burning. Low and slow is the secret here.
- Add the marshmallows:
- Toss in the mini marshmallows and keep stirring until they melt into a smooth, glossy cream with no lumps remaining. Remove the pan from the heat as soon as they're fully melted.
- Season the mixture:
- Stir in the sea salt if you're using it—this is also the moment to add a splash of vanilla extract if you want extra depth of flavor.
- Fold in the cereal:
- Add the Rice Krispies all at once and fold gently with a spatula until every piece is coated in marshmallow. Be gentle so you don't crush the cereal.
- Press into the pan:
- Scrape the mixture into your prepared pan and use a buttered spatula or lightly greased hands to press it down firmly and evenly. Let it sit at room temperature for about 10 minutes to cool slightly.
- Melt the chocolate:
- Combine the chocolate chips and oil in a microwave-safe bowl, then microwave on medium power in 30-second bursts, stirring after each one, until the chocolate is smooth and glossy.
- Pour and spread:
- Pour the melted chocolate over the cooled cereal layer and spread it evenly with an offset spatula or the back of a spoon, working quickly before it starts to set.
- Add garnish:
- Immediately scatter rainbow sprinkles or chopped nuts over the wet chocolate so they stick. Don't wait or they'll just slide off.
- Let it set:
- Allow the treats to sit at room temperature for at least 1 hour, or pop them in the fridge for 20 to 30 minutes if you're in a hurry. The chocolate should be completely firm before cutting.
- Cut into bars:
- Lift the block out using the parchment overhang or invert it onto a cutting board, then use a sharp knife to cut it into 12 to 16 bars. Wipe the knife between cuts for clean edges.
 Save to Pinterest
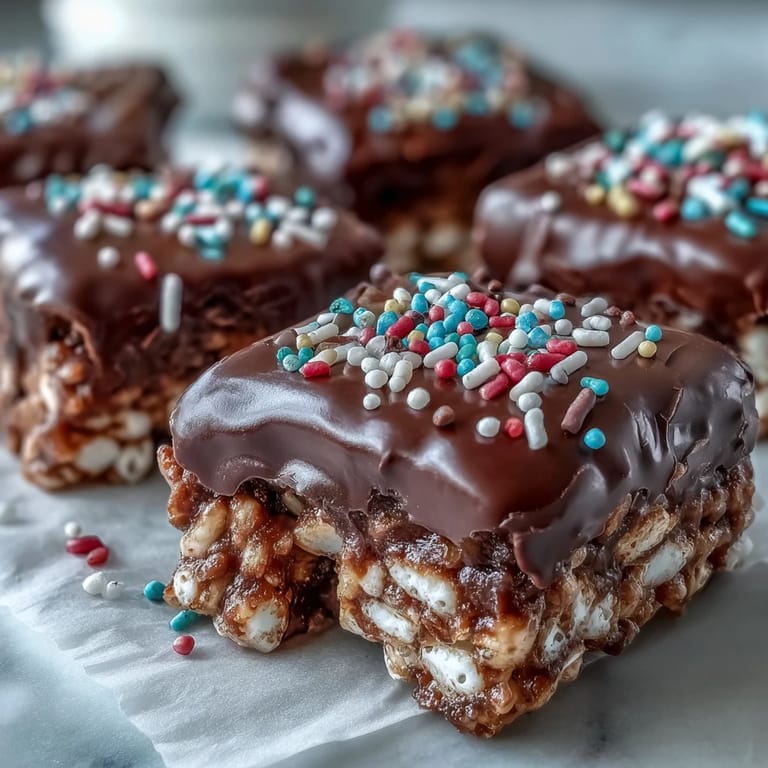
 One rainy Saturday, my daughter and I made a double batch and packaged them in cellophane bags tied with ribbon for her school bake sale. She insisted on adding extra sprinkles to each one, and by the time we finished, the kitchen counter looked like a rainbow had exploded. They sold out in the first fifteen minutes, and she beamed with pride all weekend. Sometimes the simplest recipes create the sweetest memories.
How to Store and Serve
Keep these bars in an airtight container at room temperature for up to three days, or refrigerate them for up to a week if you prefer a firmer, snappier chocolate shell. I like to layer them with parchment or wax paper so they don't stick together. If you're taking them to a party, stack them in a shallow container and keep them cool until you're ready to serve. They taste best at room temperature, when the chocolate has a satisfying snap but the marshmallow layer is still soft and chewy.
Flavor Variations to Try
Swap the semisweet chocolate for white chocolate and dust the top with freeze-dried strawberry powder for a fruity twist that looks stunning on a dessert table. You can also stir a tablespoon of peanut butter into the melted marshmallows for a nutty richness, or use crushed peppermint candies instead of sprinkles during the holidays. I've even made a version with dark chocolate and a sprinkle of flaky sea salt on top, and it tasted like something from a fancy chocolatier.
Troubleshooting Common Issues
If your bars turn out too hard, you likely overcooked the marshmallow mixture or pressed the cereal layer too firmly. If they're too soft and fall apart, you didn't press them enough or the marshmallow-to-cereal ratio was off. Always measure carefully and work quickly once the marshmallows are melted.
- If the chocolate seizes and turns grainy, whisk in a teaspoon of warm milk or cream to bring it back to a smooth consistency.
- For cleaner cuts, dip your knife in hot water and wipe it dry between each slice.
- If the chocolate topping cracks when you cut the bars, let them sit at room temperature for 10 minutes to soften slightly before slicing.
 Save to Pinterest
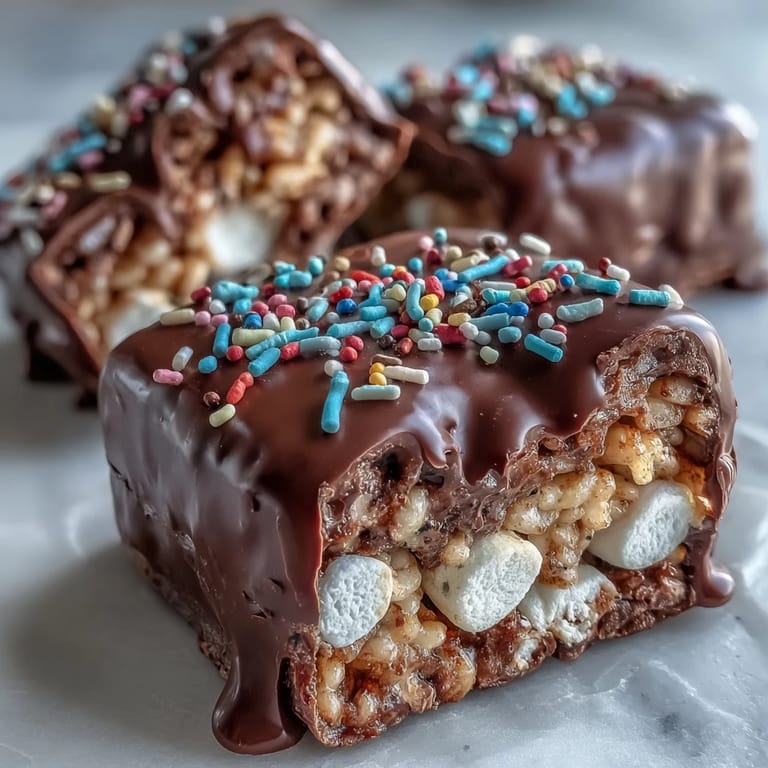
 These chocolate-covered Rice Krispy treats have become my go-to when I need something impressive that doesn't require hours in the kitchen. They disappear fast, leave everyone smiling, and remind me that sometimes the best desserts are the ones that bring a little bit of childhood joy back into our lives.
Common Questions
- → Can I use regular marshmallows instead of mini marshmallows?
Yes, you can use regular marshmallows. You'll need about 40 regular marshmallows to equal one 10-ounce package of mini marshmallows. They may take slightly longer to melt completely.
- → How do I prevent the treats from sticking to the pan?
Grease the pan thoroughly with butter before adding the mixture. You can also line the pan with parchment paper, leaving an overhang on the sides for easy removal once set.
- → Can I use milk chocolate instead of semisweet chocolate?
Absolutely! Milk chocolate works beautifully and creates a sweeter, creamier topping. You can also try white chocolate or a combination of different chocolate types for variety.
- → Why do I need to add oil to the melted chocolate?
The vegetable or coconut oil helps thin the chocolate slightly, making it easier to spread smoothly over the treats and giving it a beautiful glossy finish when set.
- → How should I store these treats to keep them fresh?
Store in an airtight container at room temperature for up to 3 days or refrigerate for up to a week. Layer them with parchment paper to prevent sticking together.
- → Can I make these treats ahead of time?
Yes, these are perfect for making ahead. Prepare them up to 3 days in advance and store in an airtight container. They actually taste even better after the flavors have had time to meld together.