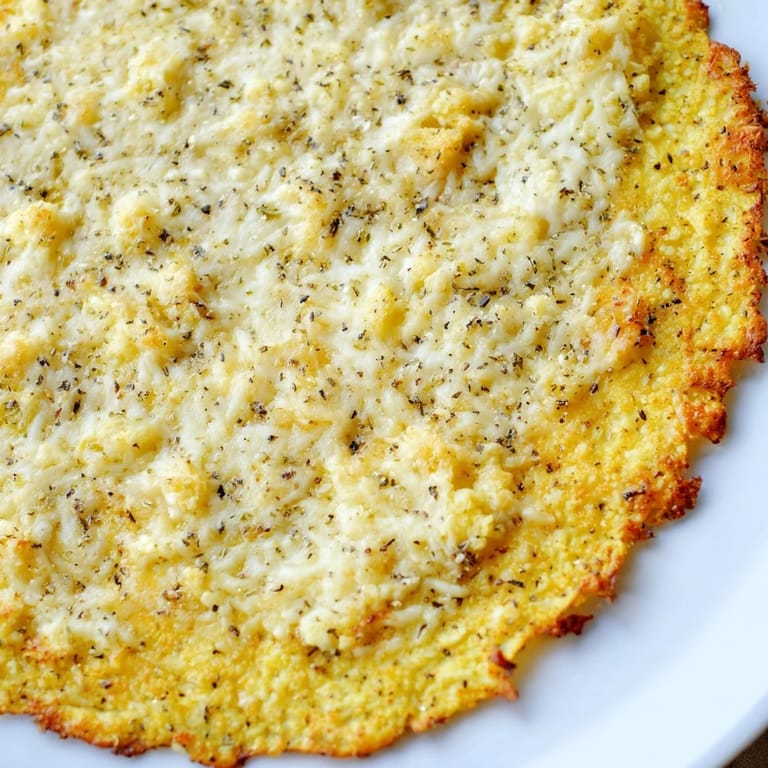
 Save to Pinterest
 I was skeptical the first time someone handed me a cauliflower pizza crust at a potluck. Pizza made from vegetables? It sounded like a compromise, not a celebration. But one bite changed everything. The crust was golden, slightly crisp at the edges, and surprisingly sturdy under a pile of melted cheese and herbs. That night, I went home and riced an entire head of cauliflower in my tiny food processor, determined to crack the code myself.
I made this for my brother once, without telling him it was cauliflower. He ate three slices, asked for the recipe, then laughed so hard when I told him he almost choked on his water. Now he makes it for his kids every Friday, calling it magic pizza. I love that this recipe turned a vegetable skeptic into someone who genuinely craves it.
Ingredients
- Cauliflower: The star of the show. Choose a head that feels heavy and tight, not one with brown spots or loose florets.
- Egg: This binds everything together like glue. Without it, your crust will crumble the moment you try to lift a slice.
- Mozzarella cheese: Adds stretch and richness. I use the pre-shredded kind when I am lazy, but fresh grated melts better.
- Parmesan cheese: Brings a salty, nutty depth that makes the crust taste like more than just vegetables.
- Dried oregano: A little goes a long way. It smells like every good pizza memory you have.
- Garlic powder: Adds warmth without the bite of raw garlic. I have tried fresh minced garlic before and it burned in the oven.
- Salt and black pepper: Essential for balancing all the flavors. Do not skip the pepper, it adds a subtle kick that wakes everything up.
Tired of Takeout? 🥡
Get 10 meals you can make faster than delivery arrives. Seriously.
One email. No spam. Unsubscribe anytime.
Instructions
- Preheat and Prep:
- Get your oven to 220°C and line a baking sheet with parchment. This prevents sticking and makes cleanup almost too easy.
- Rice the Cauliflower:
- Pulse the florets in a food processor until they look like couscous. Stop before it turns to mush, you want texture, not paste.
- Cook It Down:
- Microwave the riced cauliflower for about 5 minutes until tender. Let it cool so you do not burn your hands in the next step.
- Squeeze Out the Water:
- Wrap the cauliflower in a towel and twist hard, like wringing out a wet shirt. This is the single most important step for a crispy crust.
- Mix the Dough:
- Combine the drained cauliflower with egg, cheeses, and seasonings. It will be sticky and smell amazing.
- Shape the Crust:
- Press the mixture onto your baking sheet into a circle or rectangle, about as thick as a pencil. Try to keep the edges slightly thicker so they do not burn.
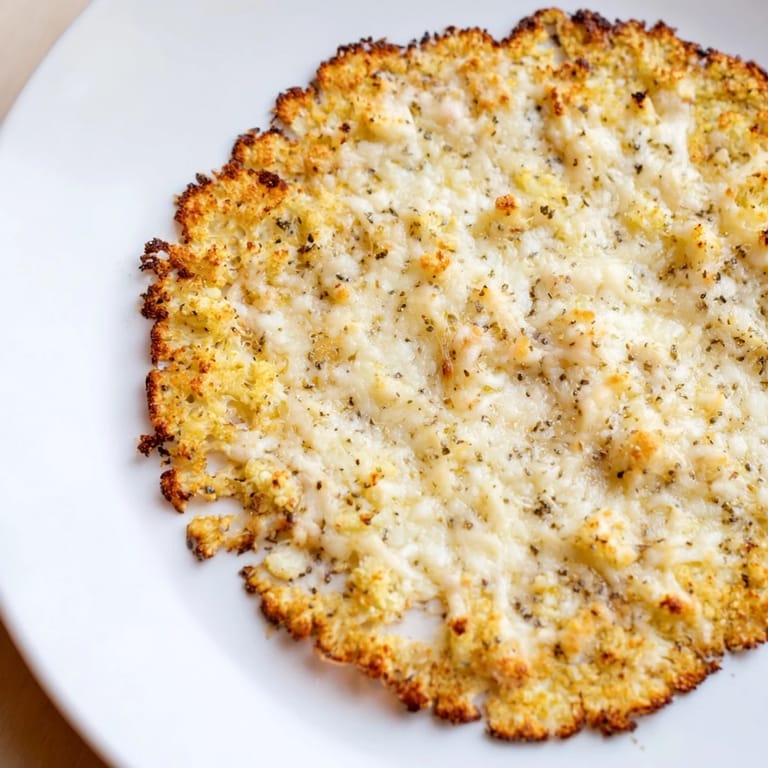
- Bake Until Golden:
- Let it bake for 20 to 25 minutes until the edges turn brown and the center feels firm when you press it. The kitchen will smell like roasted garlic and cheese.
- Add Toppings and Finish:
- Pull it out, pile on your favorite toppings, then bake another 5 to 8 minutes. Watch the cheese bubble and brown in spots.
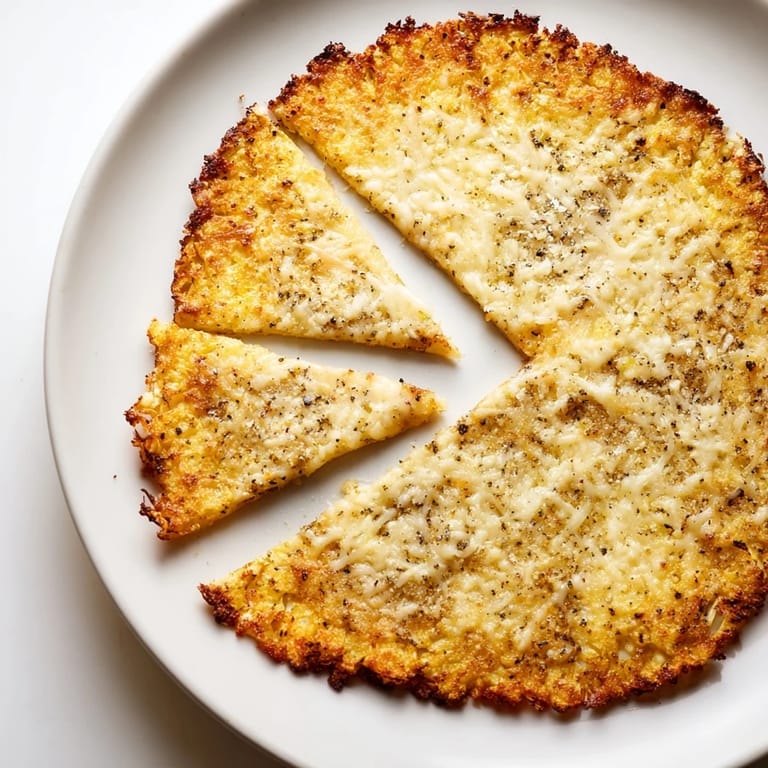
- Slice and Serve:
- Use a pizza cutter or sharp knife. Serve it hot while the crust is still crisp.
 Save to Pinterest
 One rainy Saturday, I made this with my niece who swore she hated cauliflower. We shaped the dough together, her hands covered in cheesy bits, and when it came out of the oven golden and crisp, she took a bite and said it tasted like real pizza. That moment, watching her face light up, reminded me that food is not just about eating, it is about changing minds and making memories.
How to Get the Crispiest Crust
The secret is in the squeeze. I mean really wring that cauliflower until your arms hurt and you think no more water could possibly come out, then squeeze one more time. I also found that baking it on the lowest oven rack helps the bottom crisp up faster. If you have a pizza stone, use it. Preheat the stone in the oven, then slide your parchment right onto it for an even crispier base.
Best Toppings for Cauliflower Crust
I have tried everything on this crust, from classic margherita to bbq chicken. It handles wet toppings better than you would think, but I still recommend going light on the sauce. My favorite combo is a thin layer of pesto, roasted cherry tomatoes, fresh mozzarella, and a handful of arugula tossed on after baking. The peppery greens against the warm crust are perfect. For a meatier option, crumbled sausage and caramelized onions never disappoint.
Storage and Reheating
Leftover crust keeps in the fridge for up to three days wrapped in foil. I reheat slices in a hot skillet instead of the microwave, which brings back that crispy texture. You can also freeze the baked crust before adding toppings. Just wrap it tightly in plastic wrap and foil, then thaw and top whenever the craving hits.
- Store baked crust in an airtight container to keep it from drying out.
- Reheat in a 200°C oven for 5 minutes to restore crispness.
- Freeze unbaked crust if you want to prep ahead, then bake straight from frozen adding 5 extra minutes.
 Save to Pinterest
 This crust changed the way I think about pizza night. It is proof that you do not have to give up the foods you love to feel good about what you are eating.
Common Questions
- → How do you remove moisture from the cauliflower?
After microwaving, wrap the cauliflower in a clean kitchen towel or cheesecloth and squeeze firmly to extract as much water as possible. This step ensures a crisp crust.
- → Can I make this crust vegan?
Yes, substitute the egg and cheeses with plant-based alternatives to keep the crust firm and flavorful.
- → What cheeses add best flavor and texture?
Grated mozzarella and Parmesan provide a perfect balance of meltiness and savory depth in the crust.
- → What baking temperature is recommended?
Bake the crust at 220°C (425°F) until golden and firm, usually 20 to 25 minutes.
- → How can I prevent a soggy crust?
Ensure all excess moisture is removed from the cauliflower before mixing. Proper drainage is key for crispiness.