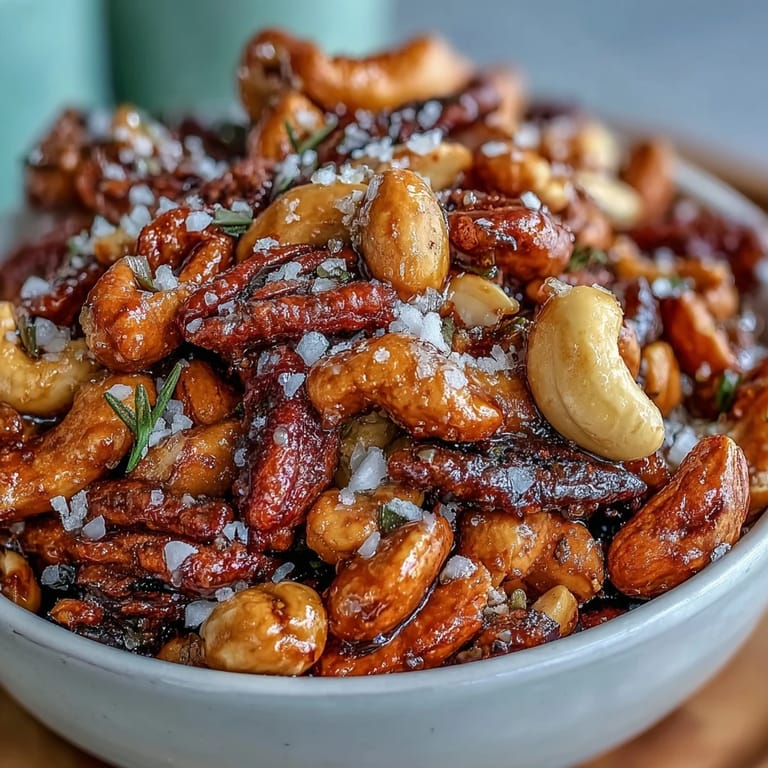
 Save to Pinterest
 My neighbor knocked on my door one Tuesday evening with a handful of something golden and crunchy, asking if I wanted to try what she'd made that afternoon. One bite and I was done for—the honey had caramelized just enough to coat everything in this glossy amber shell, the salt hitting right after the sweetness faded. She wouldn't tell me her exact method that night, just smiled and said something about how the oven does most of the work if you let it. I spent the next week reverse-engineering her snack mix in my own kitchen, tweaking spice amounts and roast times until I got close enough to make her proud.
I made a huge batch of this for a backyard gathering last summer, and it disappeared before the sun fully set. Someone asked for the recipe right as I was carrying the empty bowl back inside, and honestly, watching people's faces light up when that warm spice hit them alongside the salt and honey made me understand why my neighbor had been so protective of her method. It became the thing people asked me to bring to every event after that.
Ingredients
- Unsalted roasted peanuts (1 cup): Buy these pre-roasted to save yourself 15 minutes, and unsalted means the honey and salt can shine without competing flavors.
- Raw cashews and almonds (1/2 cup each): Raw nuts pick up flavor better than roasted ones as everything cooks together in the oven.
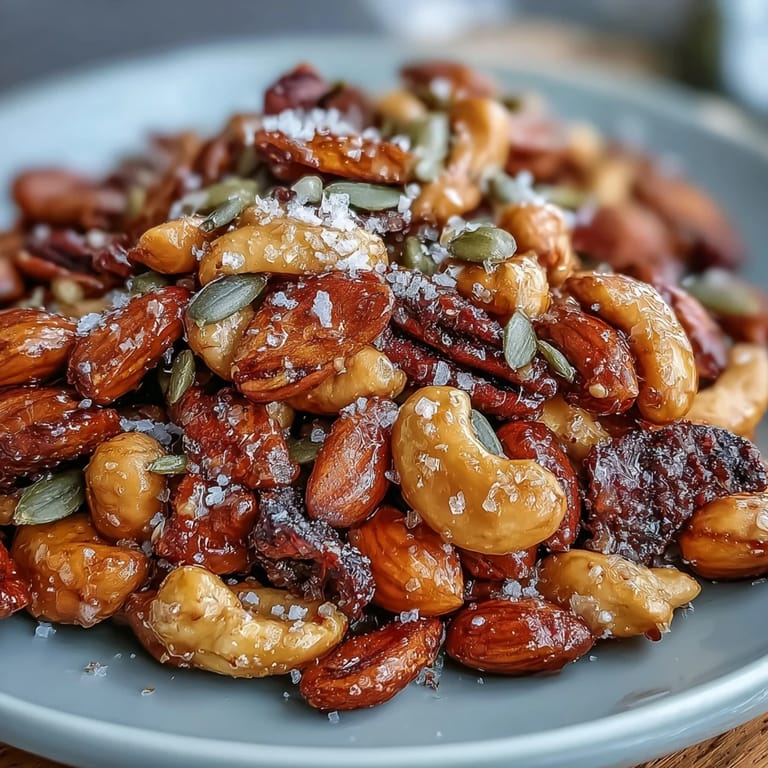
- Pumpkin seeds and sunflower seeds (1/2 cup and 1/4 cup): Seeds add texture and earthiness, plus they toast beautifully and won't burn if you watch the oven.
- Honey (1/4 cup): This is the glue and the flavor base—don't skimp on quality here, and runny honey works better than crystallized.
- Unsalted butter (2 tablespoons): Melts into the honey and helps everything coat evenly, plus adds richness you can actually taste.
- Fine sea salt (1 teaspoon) and flaky sea salt (1/2 teaspoon): Fine salt dissolves into the honey mixture while flaky salt gets sprinkled on top for those bursts of salinity that make people go back for more.
- Smoked paprika, cinnamon, and cayenne (1/2 teaspoon, 1/2 teaspoon, 1/4 teaspoon): These warm spices tie everything together and make the whole kitchen smell like fall even in summer.
Tired of Takeout? 🥡
Get 10 meals you can make faster than delivery arrives. Seriously.
One email. No spam. Unsubscribe anytime.
Instructions
- Get Your Oven Ready:
- Preheat to 325°F and line your baking sheet with parchment paper so nothing sticks and cleanup is almost effortless. You'll know the oven is ready when you hear that little beep.
- Combine Your Nuts and Seeds:
- Toss everything into a large bowl—the mix should look abundant and varied, like you've raided the best parts of the bulk bin. This is your moment to swap things out if you prefer walnuts or pecans.
- Make the Honey Coating:
- In a small saucepan over low heat, let the honey and butter get friendly together, watching until they're smooth and melted. Add the salt and spices and stir until you can smell the cinnamon and paprika—this is when you know it's ready.
- Coat Everything Evenly:
- Pour that warm honey mixture over the nuts and seeds, then toss with a spatula or wooden spoon until every piece has a glossy coat. Don't be shy about getting in there; uncoated pieces won't caramelize the same way.
- Spread It Out:
- Pour everything onto your prepared baking sheet in a single layer, breaking up any clumps so the heat can reach everywhere. It'll look a little messy, which is perfect.
- Roast Until Golden:
- Bake for 18 to 20 minutes, stirring halfway through so nothing burns at the edges. Around the 10-minute mark, your kitchen will smell incredible—that's how you know you're on track.
- Finish with Flaky Salt:
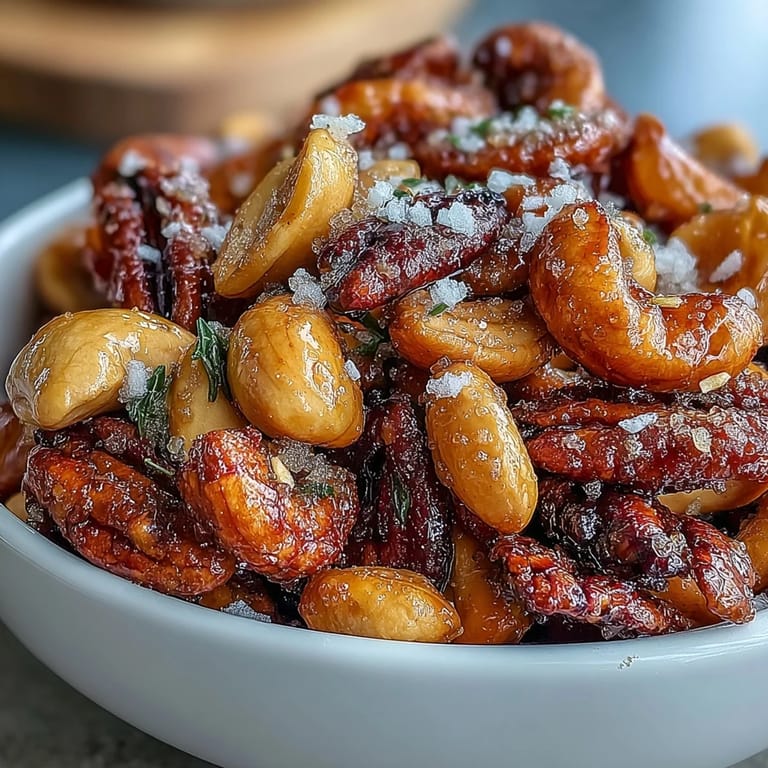
- The moment it comes out of the oven, while everything is still warm, sprinkle that flaky sea salt all over. It sticks better to the warm honey and gives you those salty pockets that make the snack addictive.
- Cool Completely:
- Leave it on the baking sheet until it reaches room temperature—this is when the honey sets and everything becomes properly crispy. Break it into clusters and store in an airtight container where it'll stay fresh for a week.
 Save to Pinterest
 My coworker brought some of this to the office last week and mentioned she'd made a batch for her daughter's soccer team fundraiser. Seeing something you created help other people feel cared for is its own kind of magic, and honestly, that's when I knew this recipe was worth keeping around.
Swaps and Variations That Actually Work
Once you make this once, you'll start seeing possibilities everywhere. I've done versions with pecans and walnuts instead of cashews, used maple syrup when I was out of honey, and even added dried cranberries after roasting. The base stays the same but the personality shifts, which is the best part about a recipe like this.
- Try a pinch of cardamom instead of cinnamon for something more aromatic and unexpected.
- Mix in dried fruit after cooling if you want pockets of chewiness between the crispy bits.
- Swap the cayenne for black pepper if heat isn't your thing but you still want warmth and depth.
Making This Vegan (And Why It Still Works)
A vegan friend asked if she could eat my mix, so I tried replacing the butter with coconut oil and the honey with maple syrup. The results surprised us both—the maple version is earthier and less obviously sweet, but it caramelizes just as well. It's not exactly the same, but it's honestly worth making as its own thing.
Storage and Serving Ideas
Keep this in an airtight container and it stays crispy for a full week, which means you can make it on Sunday and eat it through the following weekend. I've served it with cold beer, sparkling water, or just straight into people's hands when they're heading out the door. It pairs surprisingly well with cheese at parties, too—the salt and spice balance out creamy cheeses in a way you wouldn't expect.
- Pack it in small jars with a ribbon if you're giving it as a gift—people love homemade snacks more than store-bought every single time.
- Store it somewhere cool and dark; humidity is its only real enemy.
- If it ever gets soft, you can quickly re-crisp it in a 300°F oven for about 5 minutes, though it rarely needs this.
 Save to Pinterest
 This snack mix has become my answer to the question "what can I bring," and I wouldn't have it any other way. Make it once and you'll understand why my neighbor was so coy about sharing her method—some things are worth keeping close.
Common Questions
- → Can I substitute nuts in this mix?
Yes, you can swap any nuts or seeds with your favorites such as pecans, walnuts, or hazelnuts to suit your taste preferences.
- → How do I make a vegan version?
Replace honey with maple syrup and use plant-based butter instead of dairy butter to create a vegan-friendly version.
- → What is the best way to store this snack?
Store the cooled snack mix in an airtight container for up to one week to maintain freshness and crunch.
- → Can I adjust the spice level?
Absolutely, the cayenne pepper is optional. You can add more or omit it based on your desired heat level.
- → Is this snack gluten-free?
Yes, all ingredients used are naturally gluten-free, making this mix safe for those avoiding gluten.
- → What is the baking temperature and time?
Bake the coated nut and seed mixture at 325°F (160°C) for 18 to 20 minutes, stirring halfway to ensure even cooking.