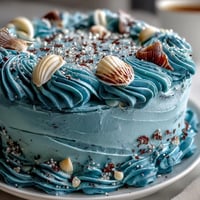
 Save to Pinterest
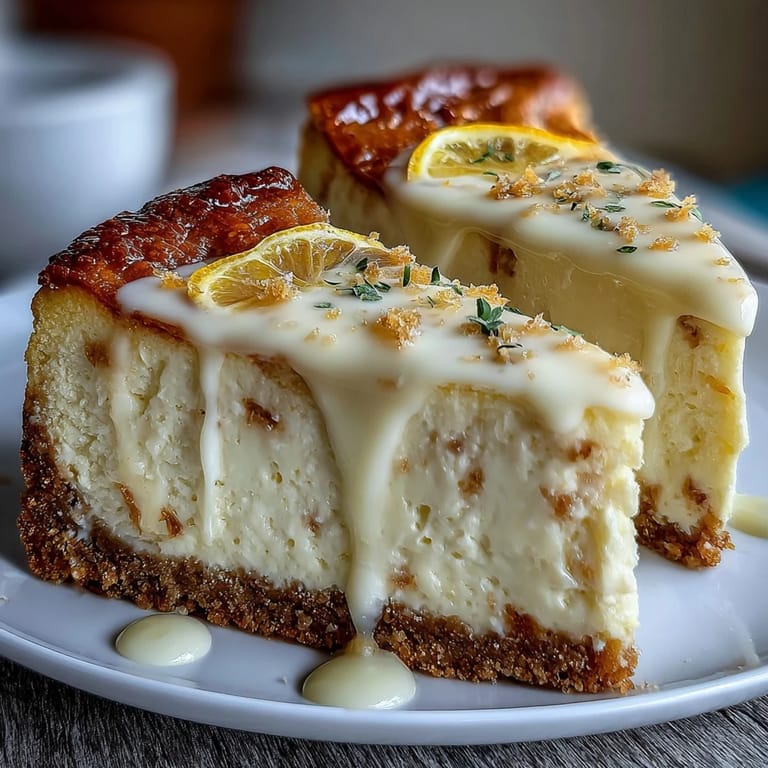
 There's something about the sharp brightness of limoncello that makes you feel like you're standing in a Sicilian kitchen, even if you're just in your apartment on a random Tuesday. I stumbled onto these bars during a particularly gloomy spring when I needed something to shake off the seasonal doldrums, and the combination of tart, creamy, and buttery just clicked. My neighbor came over sniffing the air like a hunting dog, and after one bite, she demanded the recipe before she'd even sat down. That's when I knew I'd found something special.
I made these for the first time when hosting a small garden party, and I remember standing over the cooling bars with my hands on my hips, genuinely proud that something so elegant had come from my oven. A friend who usually avoids lemon desserts took two and kept coming back for more, which somehow felt like winning an argument I hadn't been having.
Ingredients
- Graham cracker crumbs: The foundation deserves respect, so pulse whole crackers yourself if you can rather than buying pre-made crumbs, which can get stale and dusty.
- Unsalted butter: Melted and warm when mixed into the crust, it helps everything bind together like it's supposed to.
- Lemon zest: Start with two lemons for the filling and one for the crust, zesting them before juicing to avoid wasting any precious rind.
- Cream cheese: Leave it on the counter for a solid hour before you start; cold cream cheese creates lumps that no amount of beating fixes.
- Limoncello liqueur: This is the star, so don't reach for the cheapest bottle, but you also don't need the fanciest one.
- Sour cream: It adds tang and keeps the texture from being cloyingly sweet, which changes everything about how the bars taste.
- Eggs: Add them one at a time and actually scrape the bowl between additions, not as a suggestion but as a rule.
- All-purpose flour: Just two tablespoons, but it prevents the filling from being too loose and helps it set properly in the oven.
Tired of Takeout? 🥡
Get 10 meals you can make faster than delivery arrives. Seriously.
One email. No spam. Unsubscribe anytime.
Instructions
- Set up your workspace:
- Preheat your oven to 325°F and line your 8x8-inch pan with parchment paper, leaving enough overhang on two sides that you can use it as handles later. This step feels small but saves you from chiseling bars out of the pan with a knife like some kind of pastry archaeologist.
- Build the crust:
- Toss graham cracker crumbs with sugar, melted butter, and lemon zest until it looks like wet sand, then press it firmly into the bottom of your pan. Bake it for 10 minutes so it firms up and stops tasting raw, then let it sit while you make the filling.
- Prepare the filling:
- Beat softened cream cheese for about two minutes until it's smooth and pale, scraping the sides occasionally so nothing gets left behind. This is where patience matters, because lumpy cream cheese will haunt your bars.
- Build the layers:
- Add sugar and beat again, then add eggs one at a time, making sure each one is fully incorporated before you add the next. The mixture should look glossy and slightly fluffy.
- Add the flavor:
- Pour in the limoncello, sour cream, lemon juice, and vanilla, then stir in the zest, flour, and salt, mixing just until everything comes together. Stop as soon as you don't see streaks of unmixed ingredients, because overmixing develops gluten and makes the texture rubbery.
- Bake the cheesecake:
- Pour the filling over your pre-baked crust and smooth the top with a spatula, then bake for 35 to 38 minutes until the center has just a tiny jiggle but the edges are set. The bars will continue to set as they cool, so don't overbake or you'll end up with something dense and cracked.
- Cool and chill:
- Let the bars come to room temperature on the counter, then cover and refrigerate for at least three hours, preferably overnight, so the flavors deepen and everything sets properly. Patience here is the difference between good bars and bars that fall apart when you cut them.
- Cut and serve:
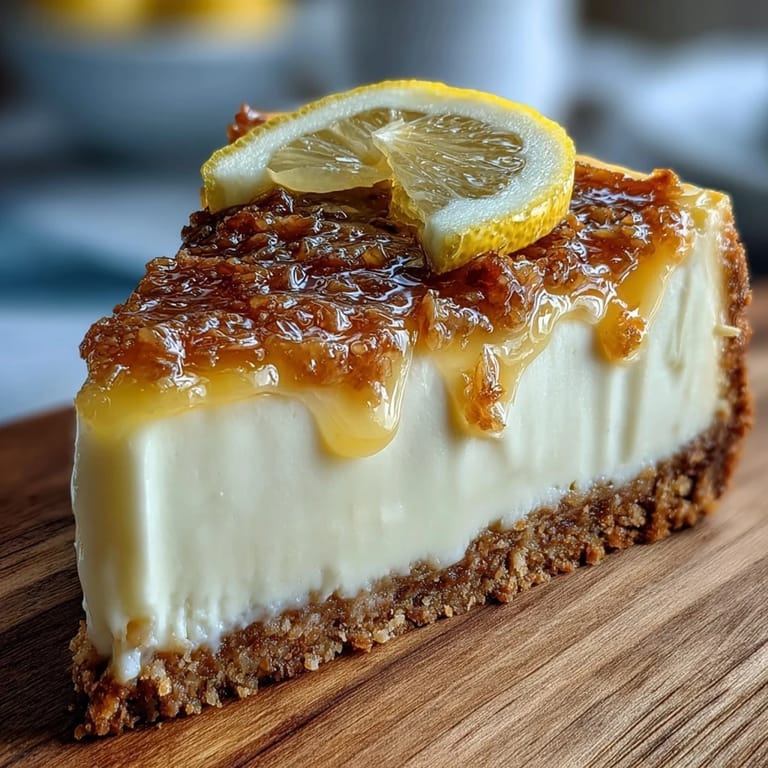
- Use the parchment overhang to lift the whole slab out of the pan, then cut it into sixteen squares with a sharp knife, wiping the blade clean between cuts if it gets sticky. Dust with powdered sugar and garnish with fresh lemon zest or candied slices if you're feeling fancy.
 Save to Pinterest
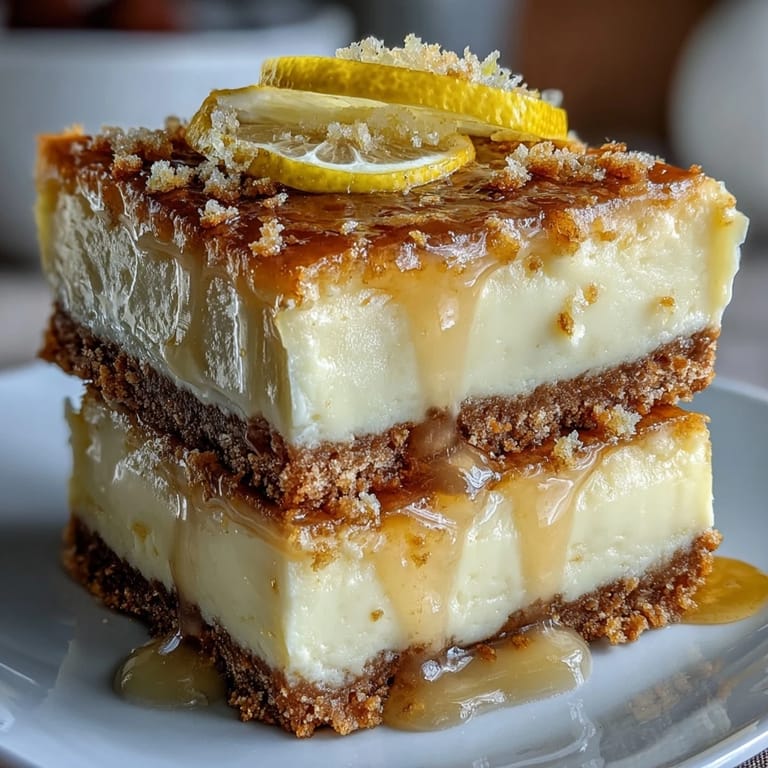
 There was a moment while these were baking when the kitchen smelled so unexpectedly good that I just sat there breathing in, and I realized that sometimes the simple act of making something with your own hands that turns out beautiful is its own kind of win. These bars became the thing people asked for by name after that.
The Science of the Bake
Cheesecake is finicky because it's essentially a custard, and custards care deeply about temperature and timing. The pre-baked crust does something crucial here, too, because it creates a barrier that absorbs less moisture from the filling and stays crispy instead of turning into graham cracker mush. At 325°F, the filling bakes slowly enough that it sets evenly from edge to center without the outsides cracking or browning.
Flavor Pairing and Serving
These bars live at that perfect intersection where they're bright enough to feel like a palate cleanser after a heavy meal, but rich enough to feel like an actual dessert. They pair beautifully with chilled limoncello, which feels almost ceremonial, or with something lighter like a Moscato or even just sparkling water with fresh mint. I've also served them alongside fresh berries and whipped cream on the side, which lets people build their own experience.
Storage and Make-Ahead Magic
These bars actually get better after a day in the fridge as the flavors meld and the texture becomes denser and more slice-able, so there's something beautiful about making them a day ahead. They keep for up to five days in an airtight container, and I've found that keeping them chilled until the moment you serve them keeps them from getting soft and losing their shape. You can also bake everything except the final garnish, wrap it tightly, and freeze it for up to two weeks, thawing it overnight in the fridge whenever you need an impressive dessert fast.
- Slice them with a hot, wet knife for cleaner edges that look almost professional.
- Let them warm to cool room temperature for about ten minutes before serving so the lemon flavor really sings.
- Make an extra batch and freeze individual bars for grabbing when you need a moment of brightness in your day.
 Save to Pinterest
 Making these bars has become one of those quiet kitchen rituals that feels both comforting and impressive, which is probably the highest compliment you can give a recipe. There's something about turning simple ingredients into something that looks and tastes like you went to pastry school that keeps me coming back to this one.
Common Questions
- → What gives the bars their lemony flavor?
The lemon zest, freshly squeezed lemon juice, and limoncello liqueur combine to provide a vibrant citrus flavor throughout the creamy layer.
- → Can I make these bars gluten-free?
Yes, substitute traditional graham crackers and flour with gluten-free alternatives to keep the crust and filling safe for gluten-sensitive diets.
- → How long should the bars chill before serving?
For best texture and flavor, refrigerate the bars for at least 3 hours or preferably overnight to allow them to fully set.
- → What is the best way to remove bars from the pan?
Use the parchment paper overhang to gently lift the chilled bars from the baking pan before cutting into squares.
- → How can I garnish the bars for presentation?
Dust the tops lightly with powdered sugar and add lemon zest or candied lemon slices for a bright, attractive finish.