 Save to Pinterest
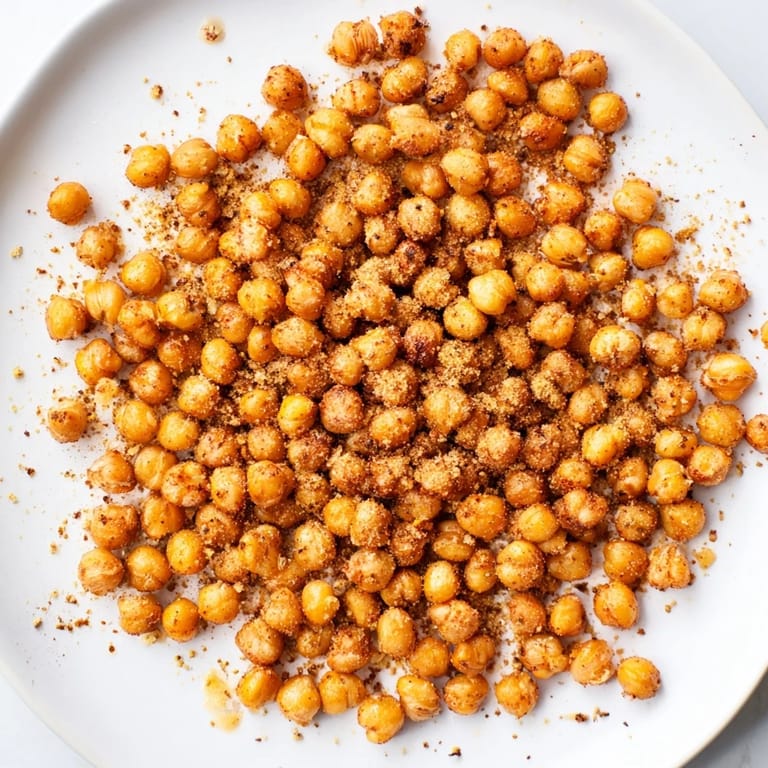
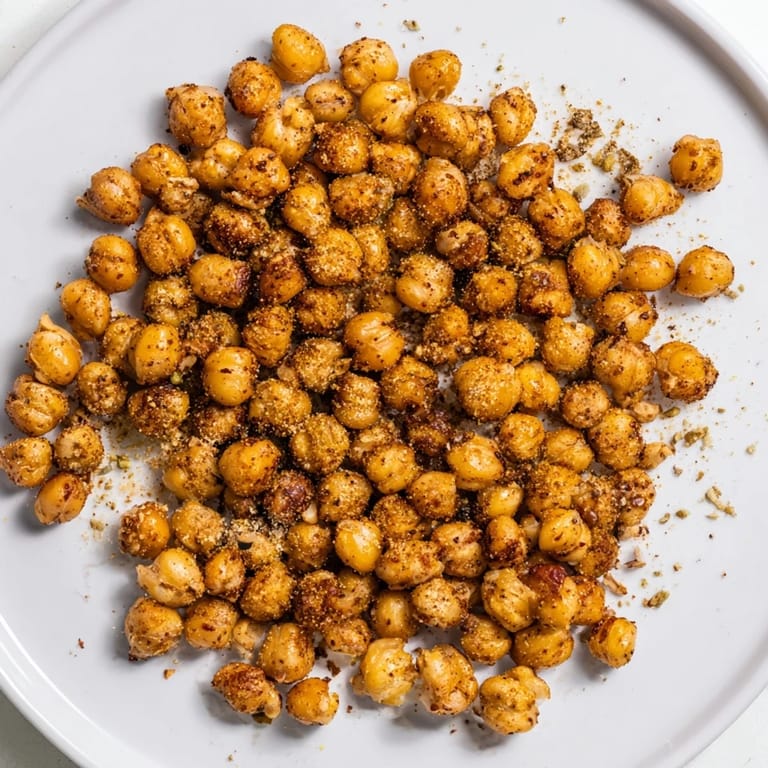
 I discovered these crispy chickpeas by accident on a lazy Sunday afternoon when I was hunting for something to snack on between meals. Opening my pantry, I found a can of chickpeas and wondered if I could transform them into something actually crunchy instead of mushy. Two hours later, my kitchen smelled incredible, and I couldn't stop eating them straight off the cooling sheet. That first batch taught me that the simplest ingredients, treated with a little intention, can become genuinely addictive.
I brought a batch to a friend's dinner party once, expecting them to disappear quietly into the background of appetizers. Instead, they were gone in minutes, and three people asked me for the recipe before dessert even arrived. That's when I realized this wasn't just a snack I enjoyed—it was something that made people pause and ask what they were eating.
Ingredients
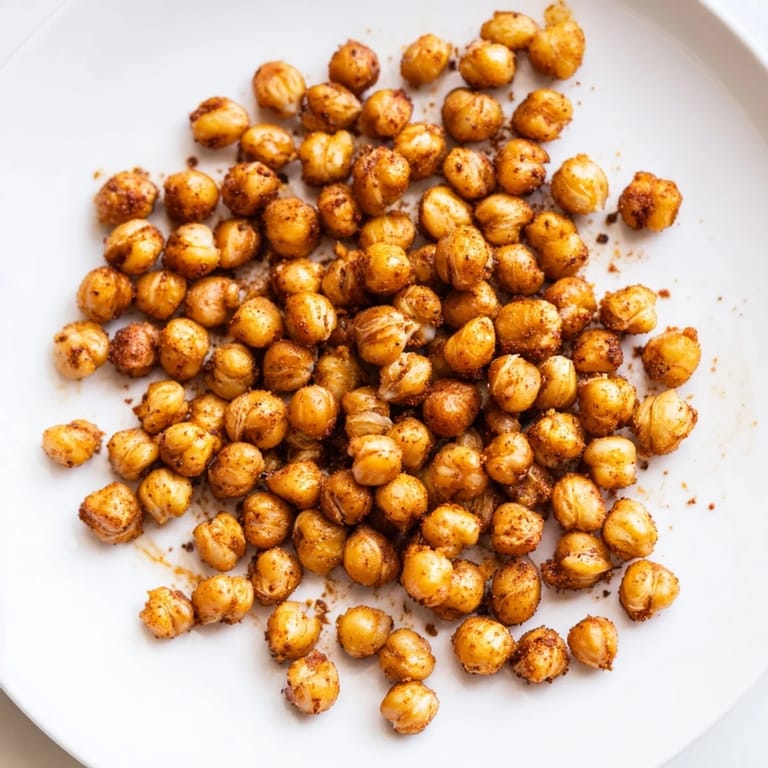
- Chickpeas: One 400g can, drained and rinsed thoroughly—the rinsing step removes excess starch that would prevent crisping, so don't skip it even though it feels tedious.
- Olive oil: Just 2 tablespoons creates the golden exterior while keeping them light enough to feel virtuous.
- Sea salt: 1/2 teaspoon grounds the seasoning profile and draws out the chickpea's natural nuttiness.
- Smoked paprika: 1/2 teaspoon adds warmth and depth without any heat; it's the backbone of the flavor.
- Ground cumin: 1/2 teaspoon brings an earthy note that ties everything together.
- Garlic powder: 1/4 teaspoon gives you that savory hit without bits of burnt garlic.
- Black pepper: 1/4 teaspoon adds a quiet spice that builds in your mouth.
- Cayenne pepper: 1/4 teaspoon optional—add it if you like a slow burn that builds as you eat.
- Nutritional yeast: 1 tablespoon optional—if you want that cheesy umami depth, this is your shortcut.
Tired of Takeout? 🥡
Get 10 meals you can make faster than delivery arrives. Seriously.
One email. No spam. Unsubscribe anytime.
Instructions
- Get your oven ready:
- Heat it to 200°C (400°F) and line a baking sheet with parchment paper. This temperature gives you that perfect crispiness without burning the outside before the inside dries.
- Dry those chickpeas thoroughly:
- After draining and rinsing, pat them with a clean kitchen towel until they feel almost dry to the touch. Moisture is the enemy of crispiness, so spend a real minute on this step—it makes the difference between chewy and crunchy.
- Coat them evenly:
- Toss the chickpeas in a bowl with olive oil and all your seasonings, stirring until each one is dressed. You want every piece to taste intentional, not just salt on half of them.
- Spread and roast:
- Arrange them in a single layer on your prepared sheet—don't crowd them or they'll steam instead of crisp. Roast for 35 minutes, shaking the pan every 10 minutes to ensure even browning and prevent any from hiding in a corner and burning.
- Cool and crisp up:
- They'll seem soft when you pull them from the oven, but they firm up as they cool. Resist the urge to eat them immediately; give them at least 10 minutes on the counter.
 Save to Pinterest
 My partner used to grab a handful of these while watching TV, and soon I realized I was making them twice a week just to keep the jar stocked. There's something about having a genuinely healthy snack that doesn't feel like deprivation—it changed the texture of our evenings.
Storage and Keeping Them Crispy
Store them in an airtight container at room temperature for up to 3 days, and they stay crunchy the whole time if you're patient enough to let them cool completely before sealing them away. If they soften up after a day or two, you can revive them by spreading them on a baking sheet and warming them in a 150°C oven for about 10 minutes—they'll crisp right back up.
Flavor Variations Worth Trying
Once you've mastered the basic version, the seasoning combinations become your playground. Swap the smoked paprika and cumin for curry powder to turn them Indian-spiced, or use Italian herbs with a little lemon zest if you want something brighter. I've also had success with a chili-lime version using chili powder and lime zest, which tastes like a completely different snack despite being the exact same base.
When to Make These and Why
These shine when you need a grab-and-go snack that actually satisfies, whether you're packing them for a hike, keeping them on your desk at work, or just want something to eat while reading. They're also surprisingly good scattered over salads or grain bowls if you want to add texture to a meal rather than eat them alone. These are the kind of snack that makes healthy eating feel easy instead of like a chore.
- Make a batch on Sunday and you'll have snacks for the whole week without thinking about it.
- Keep extra seasoning blends premixed so you can vary the flavor without measuring each time.
- Double the recipe whenever you make it—they disappear fast and nobody will complain about leftovers.
 Save to Pinterest
 There's real magic in turning something as humble as canned chickpeas into a snack you actually crave. Once you make these, you'll understand why I keep a rotation going in my kitchen.