 Save to Pinterest
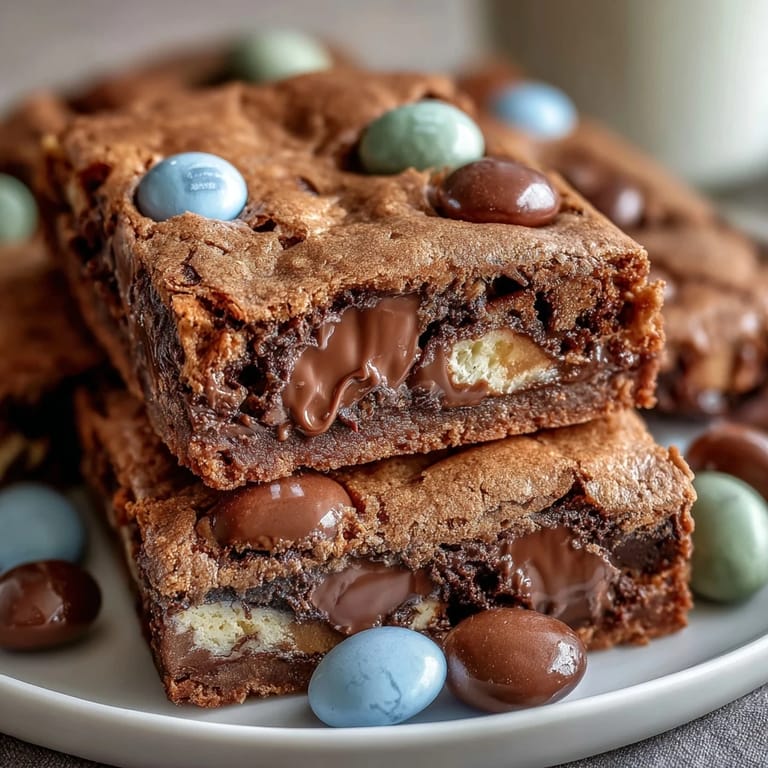
 Last spring, my neighbor texted me a photo of these cookie bars from a local bakery—golden, studded with bright pastel candies, practically glowing on the plate. She said they sold out by noon every single day during Easter season. I'd never made anything quite like them before, but I grabbed a box of Cadbury mini eggs from the grocery store and decided to crack the code myself that very afternoon. The kitchen smelled like melted butter and chocolate within minutes, and by the time they came out of the oven, I understood exactly why they were flying off the shelves.
My daughter's school held a spring bake sale last year, and I brought three dozen of these bars. I watched from across the gym as kids crowded around the table, drawn to the pastel colors like moths to a flame. One kid came back twice, and his mom asked for the recipe on the spot. There's something magical about food that makes people happy without them having to think about it.
Ingredients
- All-purpose flour (2 1/4 cups): The backbone of these bars, and measuring by weight keeps them from getting dense or cakey—I learned this after one too many heavy batches.
- Baking soda (1 tsp): Gives the bars lift and helps them spread slightly for those chewy edges we're after.
- Salt (1/2 tsp): Balances the sweetness and makes the chocolate flavors pop, never skip this even if you think it won't matter.
- Unsalted butter, melted (3/4 cup): Melting it first means you're whisking it directly into the sugars, creating a smoother, richer base than creaming cold butter.
- Brown sugar (1 cup, packed): The molasses in brown sugar adds moisture and depth that keeps these bars soft days later.
- Granulated sugar (1/2 cup): Works with the brown sugar to create structure and that slightly crispy edge we want.
- Eggs (2 large, room temperature): They need to be room temperature so they blend smoothly and don't seize up the butter mixture—I learned this the hard way with cold eggs once.
- Vanilla extract (2 tsp): Pure vanilla is non-negotiable here; it rounds out all those chocolate notes.
- Cadbury mini eggs (1 cup, chopped): The star of the show—their creamy centers contrast beautifully with the chewy bar, and chopping them prevents them from sinking to the bottom.
- Pastel M&Ms (1 cup): Half gets mixed into the dough for surprise pockets of chocolate, and half goes on top for color and visual appeal.
Tired of Takeout? 🥡
Get 10 meals you can make faster than delivery arrives. Seriously.
One email. No spam. Unsubscribe anytime.
Instructions
- Set Your Stage:
- Preheat the oven to 350°F (175°C) and line your 9x13-inch pan with parchment paper, letting the edges hang over the sides so you can lift everything out cleanly later. This step takes thirty seconds and saves you from spending twenty minutes trying to pry bars out of a sticky pan.
- Combine the Dry Mix:
- Whisk together the flour, baking soda, and salt in a medium bowl and set it aside—this prevents lumps from forming later. The whisking helps distribute the baking soda evenly so every bite rises the same way.
- Build Your Base:
- Pour the melted butter into a large bowl and whisk it with both sugars until the mixture looks smooth and slightly lightened. This is where the magic starts—you'll smell that caramelized butter aroma that makes your kitchen feel like a real bakery.
- Add the Eggs:
- Crack the eggs directly into the butter mixture and whisk vigorously until they're completely incorporated and the mixture looks pale and slightly fluffy. This takes about a minute of real whisking, but don't shortcut it.
- Mix in the Vanilla:
- Add the vanilla extract and whisk it in quickly—the mixture should smell incredible at this point, and you'll feel like you're onto something good.
- Fold in the Dry Ingredients:
- Using a spatula, gently fold the flour mixture into the wet ingredients, scraping the bottom and sides as you go and folding until you don't see any white streaks. This is not the time to be aggressive—overmixing creates tough bars, and we want chewy, not dense.
- Scatter in the Candies:
- Fold in the chopped Cadbury mini eggs and half of the pastel M&Ms, being gentle so the candies stay in distinct pieces. Reserve the other half of the M&Ms and a few extra mini egg chunks for topping.
- Spread and Decorate:
- Pour the dough into the prepared pan and smooth it into an even layer using the spatula. Sprinkle the remaining M&Ms and extra mini egg pieces across the top—they'll partially sink in and create pockets of flavor.
- Bake Until Golden:
- Bake for 23 to 26 minutes, watching for golden edges while the very center still looks slightly underdone. This is the secret to keeping them chewy—they'll continue cooking slightly as they cool, and overbaked bars turn grainy and dry.
- Cool Completely:
- Let the bars cool in the pan for at least an hour before you even think about cutting them—cutting warm bars will cause them to fall apart. Once they're completely cooled, use the parchment overhang to lift the whole slab out and cut into sixteen squares using a sharp, dry knife (wiping it between cuts helps).
 Save to Pinterest
 There's a moment every time I make these when I pull them out of the oven and the entire house fills with that toasted chocolate smell, and I just stand there for a second appreciating the fact that something this good came from my hands. It's the kind of dessert that makes people slower down and actually taste what they're eating instead of just shoving it in their mouth.
Why These Bars Win Every Time
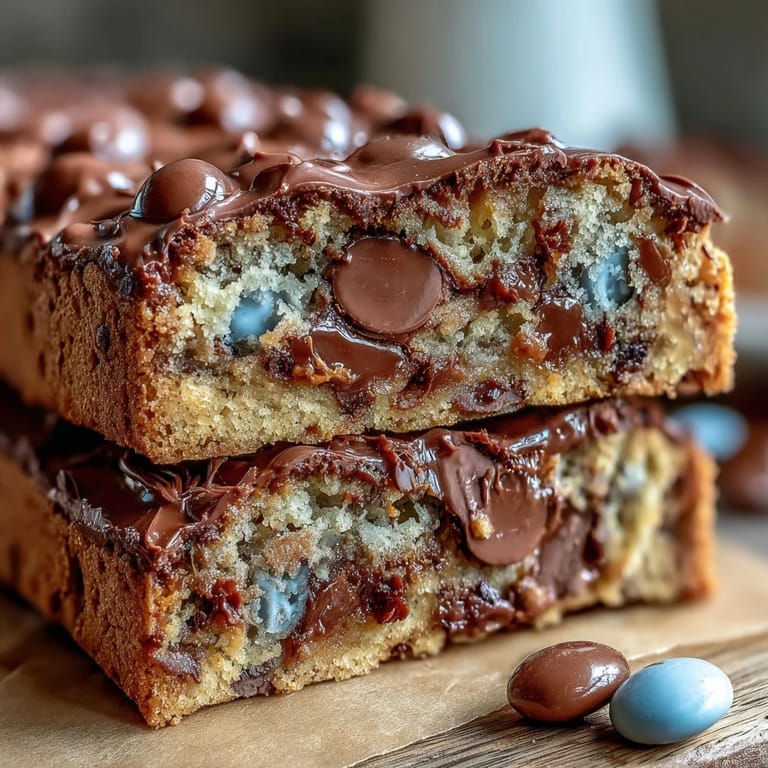
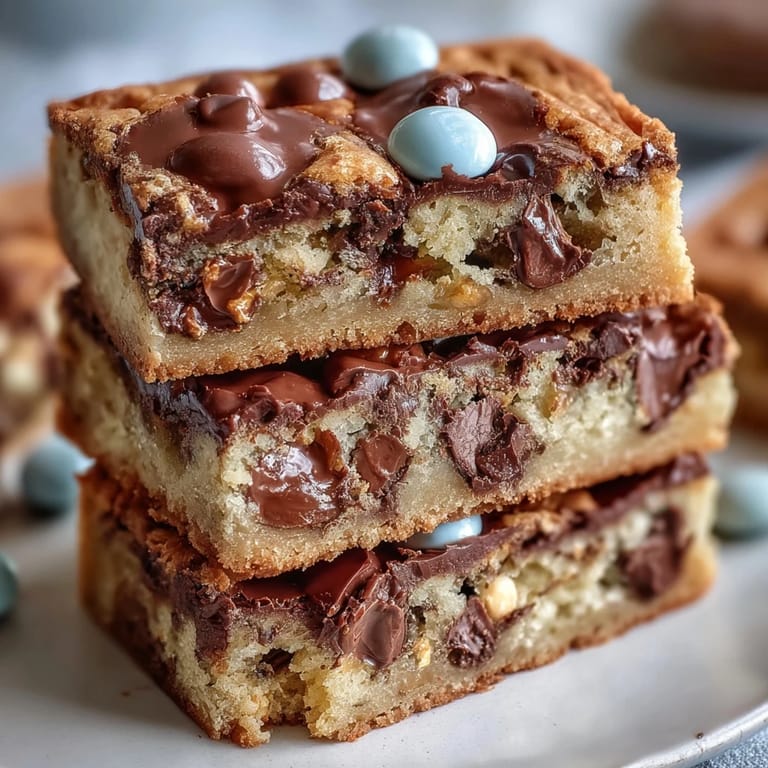
The secret isn't complexity—it's balance. You've got chewy from the brown sugar and melted butter, fudgy from the chocolate candies, and textural contrast from the M&Ms that don't fully melt. The fact that they're baked in one pan and require no fancy techniques means you can make them at 3 p.m. and have them ready for dinner guests by 5 p.m. I've made these for everything from office potlucks to last-minute birthday celebrations, and nobody has ever asked why I didn't make them chocolate chip cookies instead.
Storing and Keeping Them Fresh
These bars actually taste better on day two after the flavors have settled, which is rare for desserts. Keep them in an airtight container at room temperature—refrigerating them hardens the chocolate and dries out the bars faster. I've kept them for four days before and they stayed chewy the whole time, though honestly they never last that long in my house.
Easy Swaps and Variations
The beauty of these bars is how forgiving they are with substitutions. I've made them with regular milk chocolate M&Ms during the off-season, and they were just as crowd-pleasing. One time I ran out of Cadbury mini eggs midway through baking, so I chopped up some creme eggs instead and they were actually incredible—creamier and richer than the original. You could also use crushed malted milk balls, toffee bits, or even white chocolate chunks if you want to experiment.
- If pastel M&Ms aren't available during non-Easter seasons, regular colors work just fine—the bars taste exactly the same, just less festive.
- Slightly underbaking by a minute or two creates an almost brownie-like texture if you prefer them extra gooey.
- These freeze beautifully for up to three months if you want to make them ahead for a party.
 Save to Pinterest
 These bars turned what could have been an ordinary afternoon into something worth sharing, and they've become the first thing people ask me to bring when there's a celebration. That's the mark of a truly great recipe.
Common Questions
- → Can I substitute the Cadbury mini eggs?
Yes, mini chocolate eggs or regular M&Ms work well as alternatives, maintaining similar texture and sweetness.
- → How do I achieve gooey cookie bars?
Slightly underbaking the bars ensures a soft, gooey center while keeping edges firm.
- → What is the best way to store these bars?
Store them in an airtight container at room temperature for up to four days to maintain freshness.
- → Can these bars be made ahead of time?
Yes, preparing them in advance is convenient; just keep them covered to retain moisture.
- → What tools are needed for preparation?
A 9x13-inch baking pan, mixing bowls, whisk, spatula, parchment paper, and a sharp knife are recommended.
- → Are these bars suitable for vegetarians?
Yes, all ingredients used comply with a vegetarian diet.